Teaching Sample
Introduction to Architectural Representation
Course Overview
I had the privilege of redesigning this course with ladder faculty and implementing the new curriculum. Students learned free hand and technical drawing techniques, free hand rendering practices, model making, an introduction to CAD, and how to work through the entire design process. The goal of the course was to prepare students to use these techniques to communicate intention, theory, and form for careers in various design professions.
Objectives
Technical sketching including axonometric and isometric views, orthogonal projection, and exposure to 1 and 2 point projection
Introduction to VectorWorks
To recognize and use architectural symbols
Scale drawing
Free hand sketching as a way to communicate intention, theory and form
The design process
Rapid study models
Spacial and User awareness techniques
To learn how to think critically and communicate those thoughts through sketching
Project One: Wooden Pavilion
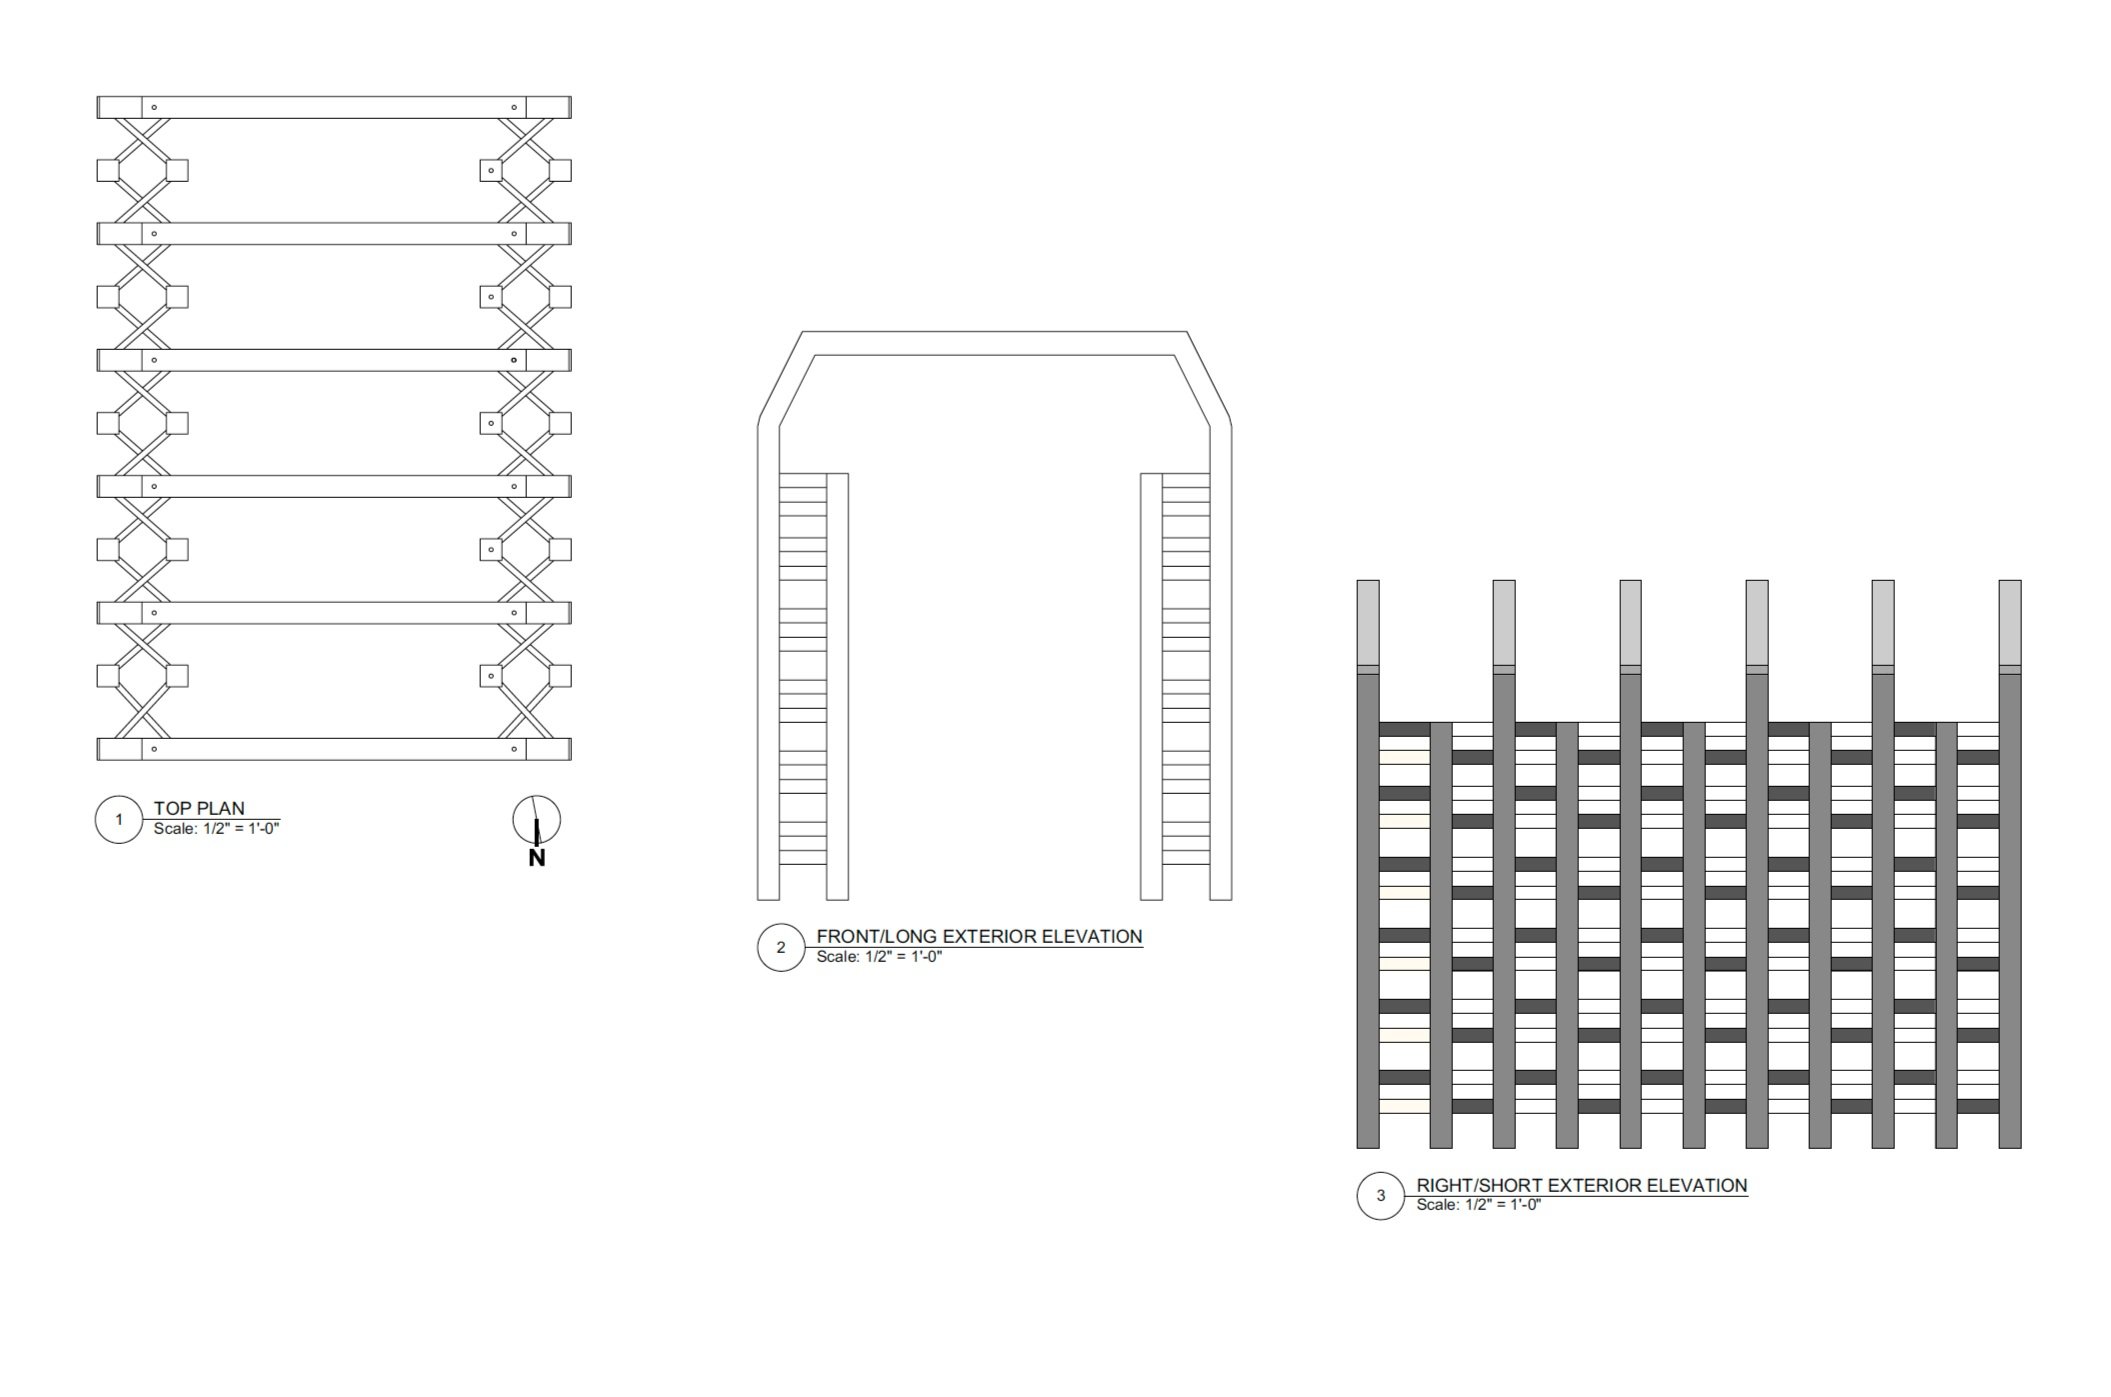
As an introduction to CAD, students were challenged to design and draw a pavilion in VectorWorks that was constructed entirely of lumber, following specific constraints. They learned about actual dimensions of lumber and briefly touched on building techniques.
Project Two: Axonometric Drawing
Students proceeded to learn how to do a site survey of their room and draw it in axonometric view. They also learned drafting techniques and tools, and were encouraged to uphold a high level of craft and accuracy in scale drawings.
Project Three and Four: Parklets in Davis
In the second half of the quarter students were assigned to design a parklet from concept to design drawings in a process that mimicked the guidelines of San Francisco’s Parking Day event. The process included 4 phases; proposal writing and diagram development, ideation and sketching, model making and CAD drawings. The goal of the parklet was to create an opportunity for a unique social interaction meeting the needs and wishes of the community it was intended to serve. This challenged students to think beyond just a beautiful design and about real needs within their communities.
Proposals & Bubble Diagrams
Students began by identifying a need in Davis that a parklet could address. They were challenged to take their sketchbooks with them and begin thinking through sketching. They explored various areas within the community, interviewed friends and locals to identify their target audience, and chose a location and goals for their parklet. Students composed initial proposals and made bubble diagrams to begin exploring possibilities for the space and to gain understanding of how to design a floor plan that met their desired functions.
Concept Sketches
Leveraging their research and diagrams students created concept sketches portraying important perspectives and elements of their designs. They worked with H pencils, fine tip black pens and used colored markers to portray rendering techniques throughout different areas of the drawings. They presented the drawings to a panel of architects and designers for critique.
Project Five: Sketch Models
Students build a 3D model of the parklet. It communicated important features, showcased the circulation of the parklet and presented their concept in 3D. While it did not have to be highly detailed, every important aspect of the parklet needed to be included and to scale.
Project Six: Final Proposal
In the final presentation students combined projects 3-6 to make a plan, section, elevation and isometric/axonometric view of their parklet. Students demonstrated their new skills in CAD as they displayed the proposed parklet designs through the various views. Renderings were optional, but encouraged.


